4/29/2015

Sugar, is it the culprit?

I had a wonderful time this weekend. We had our much loved neighbors up for a lovely dinner and another dear friend made the journey over from Colmar to join us. We enjoyed wonderful food, good wine and sugar. The next day I woke up to a tight chest. My bronchitis seemed to have returned, with a vengeance. I did all the things I could to help it out, the steam treatments, the herbal tea and the Clear Lungs. The next day, yesterday I woke up to nausea again. Total rebellion from my body and hives. I realized that this is not just another case of stomach flu, or whatever else I could blame it on. I am convinced with this recurring scenario that something is rotten in Denmark. 

This week is the Glowing Skin Summit. Something I have been waiting for and excited to watch. It involves five guest speakers each day talking on the topic of healthy skin. I am deeply interested in the subject and so even though I am feeling quite ill this week it has been playing in the background each day. So yesterday when I was feeling my worst, after I discovered the hives all over me and was just feeling really down, I was listening to this woman talk on one of the videos. But she wasn't really talking about skin, she was talking about headaches and hives and nausea. Everything I have been suffering from. In fact she sounded like she was talking about me. That's when I realized, my body is reacting to the food I put in it this weekend! It really makes perfect sense. Each time I let myself slip I end up sick. Each time it seems a bit more aggressive. My immune system seems to be at a complete low. I had four rounds of antibiotics in October and November. I am starting to have recurring bronchitis, something I haven't had problems with in years. This woman talked of candida and how sugar feeds it. How rounds of antibiotics encourage it. I will spare you all the gruesome details but it is true that my reactions to antibiotics have become quite severe.

The pieces are starting to come together.
So I have decided to go on an elimination diet and see if my symptoms clear up. I am already pretty strict with what I eat so it shouldn't be too hard. I am interested to see if this will yield good results. I know I am tired of this never ending 'Ring around the Rosy'. I will let you all know how it turns out.

In the meantime, I am down this week. Lots of sleep and a little cross stitch is about all I am up to. I have several projects that I wanted to finish up and show you but I finally realized that they are not going to happen. I have to let myself heal and stop stressing about the things that are undone. There will be time for that later.
So I leave you with a photo, an update on my cross stitch. It won't be long till she is finished!

I hope you are well!
4/24/2015

Grapefruit Body Butter Recipe and Free Printable Spa Labels


       Did you know that there is a clinical study that shows grapefruit essential oil 
breaks down body fat? 
Hello?!? 
Seriously? I read this and had to read it three more times. 
BREAKS. DOWN. BODY. FAT! 
I immediately went and read the study because, you know, I like my facts. 

All I could think is, if this is true 
why aren't there jars of grapefruit body butter flying off the shelves everywhere? 
The only answer I could come up with is, 
there is just too much bogus stuff floating around out there. 
Things that sound so fancy and exotic. Surely they must think that exotic works better. 
I mean, something that sounds so ordinary couldn't possibly work, right? 

Well this is what I know. Research in essential oils is only just starting to take off.. There is so much about them we don't even begin to understand. 
Don't even get me started on the dangers of essential oils. I will cover that topic later. 
I know this much though, I have a very healthy respect for them and I don't play around with them. 
I am working hard to learn everything I can about what really works. 
What has been proven in clinical trials not word of mouth "oh my neighbor said so" kind of proof.

This one is the real deal. 
You want to know something else wonderful about Grapefruit Essential Oil? 
Even just smelling the oil can help you lose weight. 
That's right...smelling it! 
So make yourself a big ole tub of body butter if you need it and pour some of that in your diffuser while you are at it! Your body will thank you :)

So this is a nice simple formula I whipped up to give it a try because I don't know about you but this old body can use all the help it can get in the extra layers department, if you know what I mean ;)
This one works up quick and only uses 5 ingredients:

Grapefruit Body Butter
4 ounces cocoa butter
4 ounces coconut oil
80 drops of grapefruit essential oil
10 drops of lavender essential oil
3 drops of cypress essential oil

1, Add the cocoa butter and coconut oil into a double boiler and melt. 
2. Remove from heat and add your essential oils. 
3. Let cool. You can put it in the refrigerator if you want to speed things up. 
4. When it looks solid take it out and whip it with a blender till light and fluffy.

Now the fourth step is optional. You don't have to whip it. You can just pour the mix straight into your container after adding the oils. Either way works it just depends on your preference!

I also made up these labels while I was at it. I wanted something bright and fresh to put on some of my spa formulas and thought while I was at it I would make up a printable PDF for my wonderful readers! I hope you enjoy this great body recipe and the labels to go with it!

Just click HERE to save your copy of the free editable and printable labels.

Thanks for stopping by and checking out my latest recipe. I have to tell you, when I was making this is made the whole house just smell heavenly. Now I have a big jar full of heaven to enjoy and hopefully a thinner waist soon!

Have a great week!

Clinical studies...if you are into that kinda thing like me. :)

http://www.ncbi.nlm.nih.gov/pubmed/17615482

http://www.ncbi.nlm.nih.gov/pubmed/15862904

4/21/2015

Munster Valley


I mentioned a few weeks back that we took a trip over to the next valley, Munster Valley. It was a few days before my son flew back to the US and we wanted to go to a nice little restaurant we know over there.
Munster Valley ~ Making on the Mountain ~ Cymberrain

We took the pass up and over the mountains, and stopped at Lac Blanc to enjoy the view.
Munster Valley ~ Making on the Mountain ~ Cymberrain To give you an idea of how high I live, our house is on the same level as this lake around, 3200 foot. 
Munster Valley ~ Making on the Mountain ~ Cymberrain
Since we live on the southern side we had already lost our snow but the lake was still frozen solid. 
Munster Valley ~ Making on the Mountain ~ Cymberrain

 Frenchie wandered down to the lake shore and couldn't resist the call of the rocks. 
Munster Valley ~ Making on the Mountain ~ Cymberrain

Before I knew it, they were both down there. 
Munster Valley ~ Making on the Mountain ~ Cymberrain
Boys and rocks, it never ends does it?
Munster Valley ~ Making on the Mountain ~ Cymberrain
It was so beautiful seeing the lake frozen like that. The huge wall of rock towering above it. 
Munster Valley ~ Making on the Mountain ~ Cymberrain
Soon we were on our way though over into the Valley of Munster.
Munster Valley ~ Making on the Mountain ~ Cymberrain
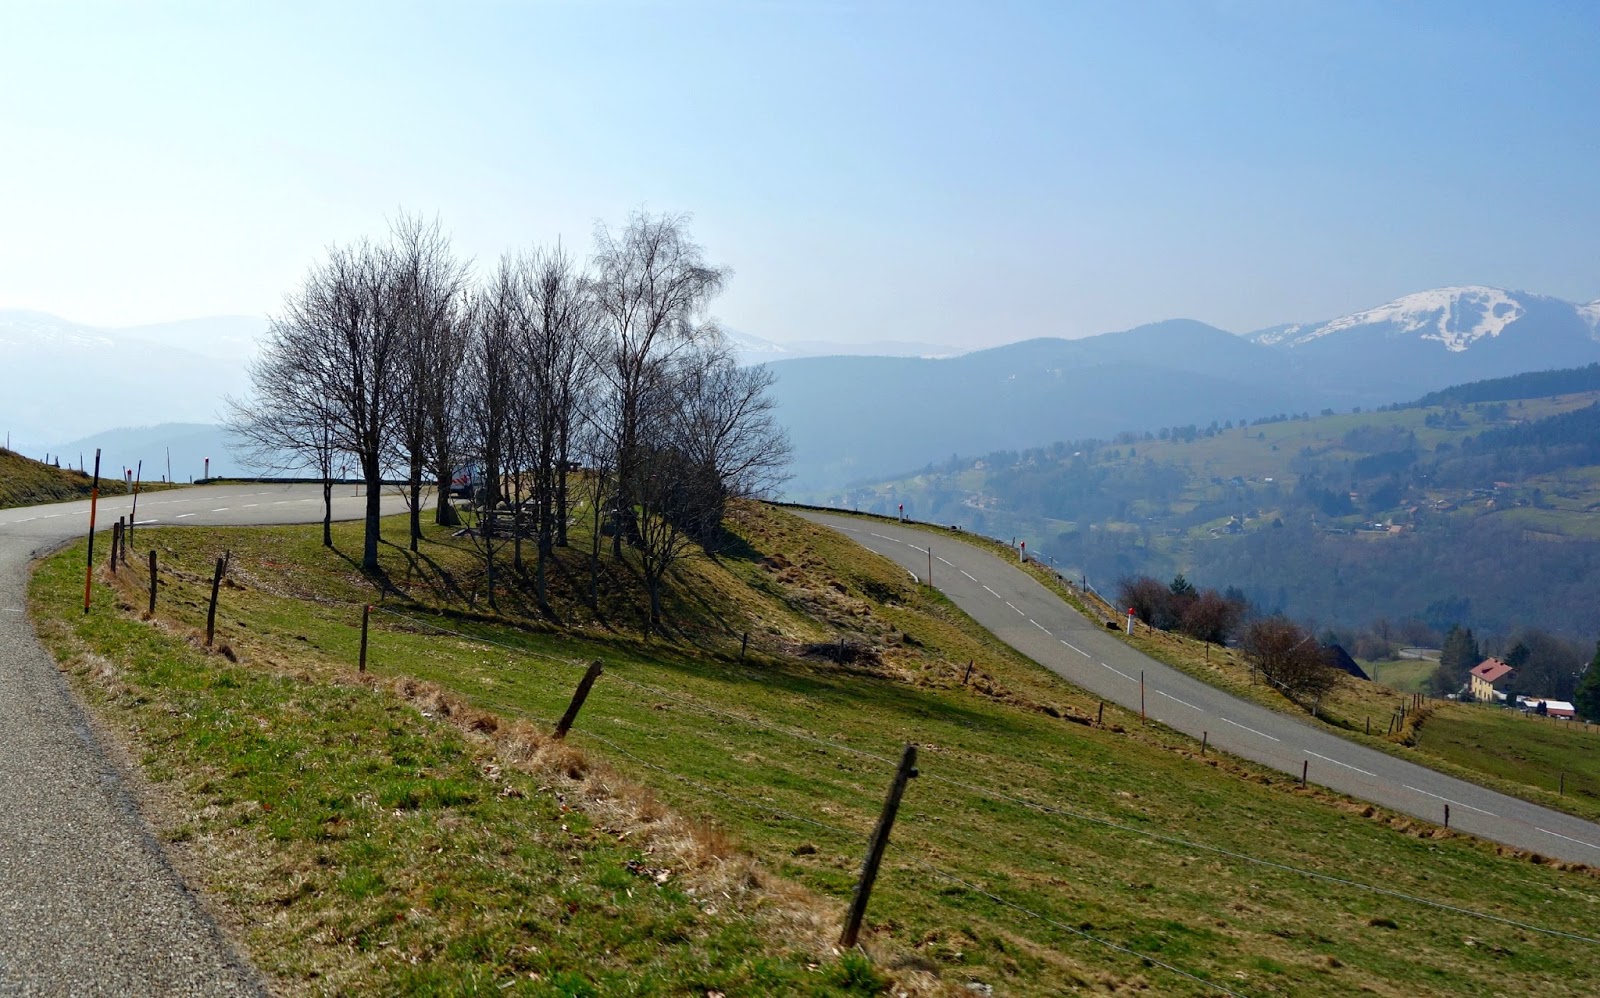
The road is amazing, switching back and forth, 
Munster Valley ~ Making on the Mountain ~ Cymberrain
bringing view after wonderful view.
Munster Valley ~ Making on the Mountain ~ Cymberrain
 I love this drive and every single time it takes my breath away!
Munster Valley ~ Making on the Mountain ~ Cymberrain
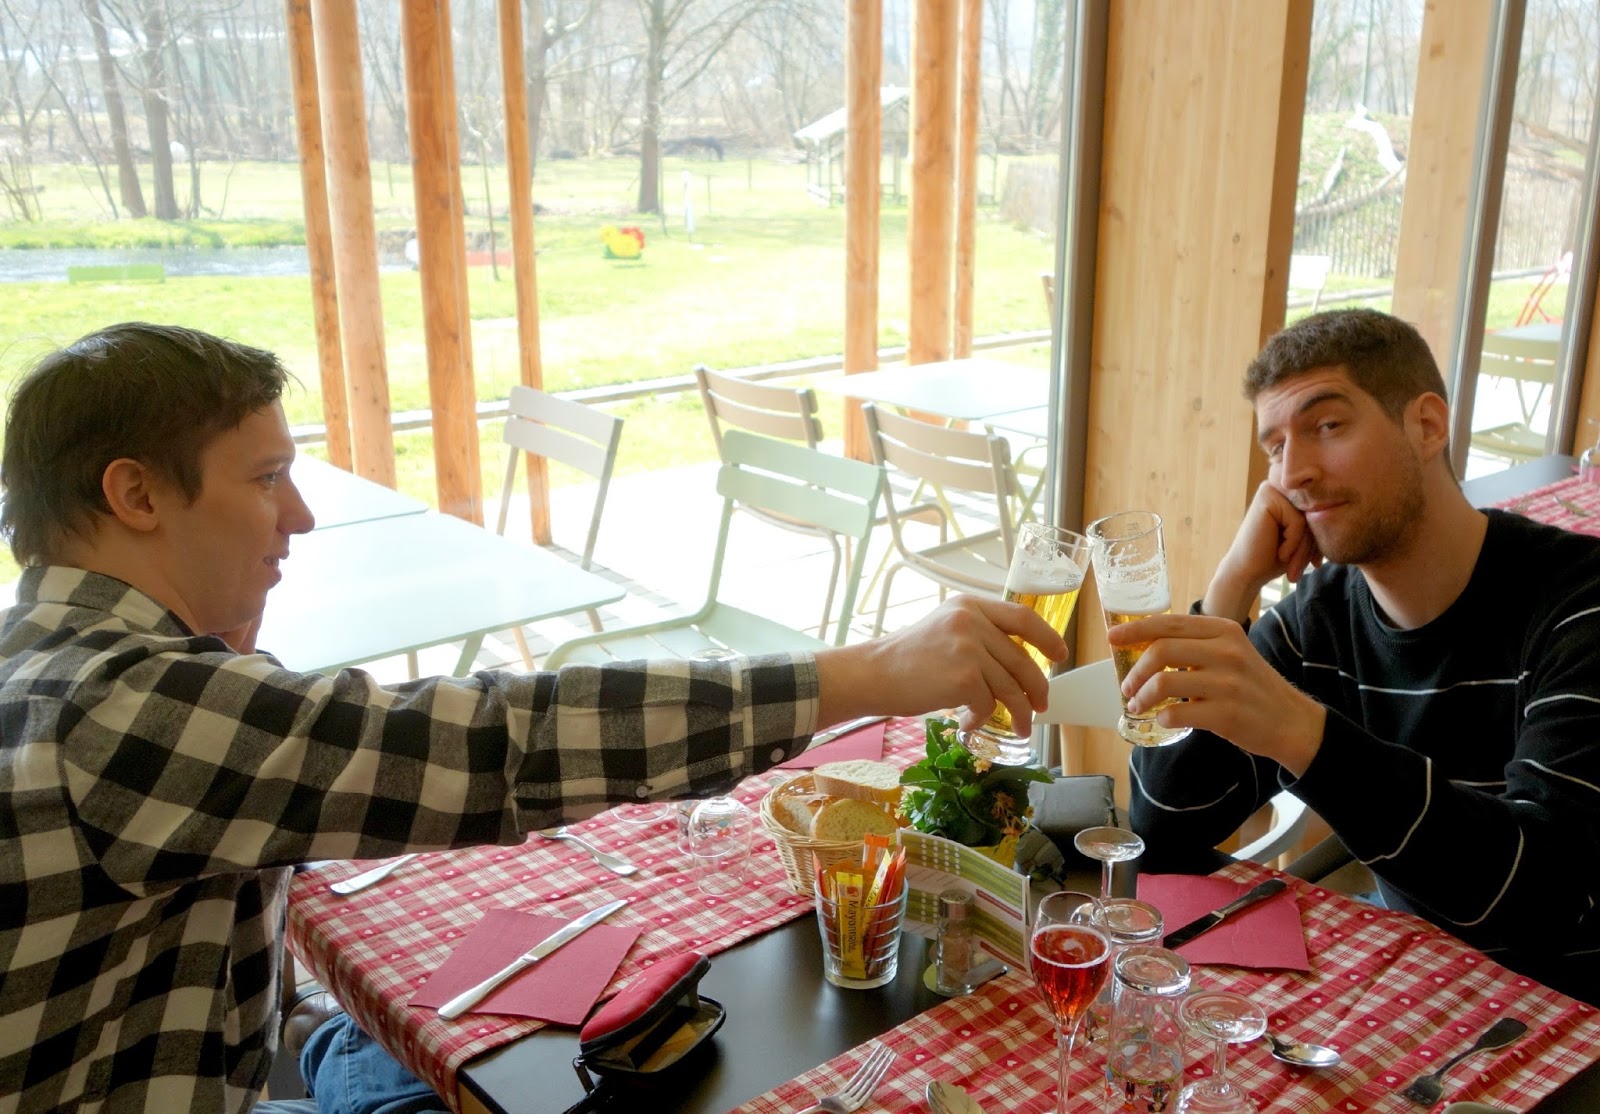
Soon though we arrived at our little restaurant 
Munster Valley ~ Making on the Mountain ~ Cymberrain
and enjoyed a toast, good food 
Munster Valley ~ Making on the Mountain ~ Cymberrain
and watching the goats and ducks with our afternoon meal.
Munster Valley ~ Making on the Mountain ~ Cymberrain
I hope you enjoyed the trip. I know I did!

4/16/2015

Fairie Bleu


I have been under the weather all week and not able to finish any of the jobs I had planned for the house. It's very frustrating when my body doesn't cooperate with me. All the willpower in the world doesn't help when you have a fever. So I have been spending many days quiet. I have had a lot of nice long naps. I also have had a lot of bowls of oatmeal. It's amazing how comforting oatmeal can be. It really is a healing food! Today I graduated to oatmeal with bananas, I am moving up in the world!


So since I am being so quiet and not really having energy to do anything much, I picked up this piece I have been working on since October. I haven't really had a chance to work on it lately but I really want to get it done because this will go on the wall in my bedroom. I already have the frame bought!


I really love the delicate feel to it and hope to copy this feel through out the room. I know my kitchen and living room are bright and modern and colorful but that is not the only side of me! I have this bohemian hippy chick side hiding but not for long! Someday I will start working in my bedroom and you will get to see a whole other side of me!

Until then I hope you all have a beautiful rest of the week. Remember the weekend is upon us!

4/14/2015

Remaking The Kitchen ~ Pantry Solutions Finished

Over the last several weeks I have been working off and on with some storage solutions in my kitchen. I started out planning on only a few types of jars and a smaller set of shelves but when I went to buy the wood for the shelves I found these great white shelves that worked perfect for my needs. The only problem being that they were twice as wide as my jars so I couldn't see wasting all that space. I mulled it over for awhile and came up with a solution. 
First off I had these bigger old Nutella jars that would work perfect to add even more storage (who doesn't love MORE storage?) I wanted them to be raised up a bit though so I could see what is in the jars in the back. 
The problem was that the shelves will only support a certain amount of weight. Whatever I did had to be very lightweight. I finally came up with an idea that I thought would work and still look ok
First I made these cores out of styrofoam packing pieces, I made them wide enough for the jars by taping pieces together and high enough that you could read the labels of the jars from behind the first row of jars.
Then I took an old white box I had and  cut out a piece to wrap the foam cores. I simply taped the ends closed for now, though later I will glue them and spray paint them Living way out on a mountain means not going to the hardware store often so that must wait, but I wanted to show you how they looked on the shelves

They turned out perfect! Nice and sturdy with the cores of foam inside but light enough that they really add no weight at all to the shelves. As it is I am right on the edge of the weight limits with these so it was just what I needed. 

 Now I went ahead and wrapped the lids of some of the bigger jars in the back with Washi Tape in red. Then I decided maybe I would like them with the red and then some of the black and white on top of the red so i did a few like that.

I can't decide which I like better! Maybe I will just mix them up a bit :)
I also put a larger shelf below the herb shelf and found some nice big jars that I printed labels for and put the sugar, flour and almond flour into, and I have a few tea canisters there.

 And while we were visiting over in Munster Valley a few weeks back I picked up this sweet picture to go on the wall between the two.
 So there you have it, my solution to no pantry. I think it turned out really well. The open shelves help to give the room a feeling a space and I love that I can see exactly what I need to pick up at the store in a glance! *note to self ~ pick up more dried cranberries!
 I hope you liked how they turned out, I sure do. 
I can't wait till June when we will be tearing out the old sink below this and adding a new counter top that will be raised up a bit so we don't break our backs every time we wash dishes. 
Frenchie and I are both quite tall so we can use a bit of help there. 
And no worries, I will be sure and show you the finished project. 
I will be so glad when this kitchen is done but every thing we do brings us a bit closer! 

Hope your week is going well,
4/10/2015

Studio MESS!

The weather is starting to warm up here, We had a sunny day yesterday and I decided to tackle the studio. As you know, this whole house is in flux and there is something going on or soon to go on or planned to go on in every room.The studio is a pretty odd room. 

When we first moved in, we had a leak in that room, there was water coming from the balcony above and it messed up the ceiling and the wall. Frenchie pulled a big section of the ceiling and the wall off to find out what was going on. Since we have built on the addition the leak is fixed but the damage remains here. The odd thing about this room is that you have to go outside to get to it. There is no entrance to the room from inside the house and that is a big problem. Since we heat with wood there is no way to heat it except the electric heaters. We hope to knock a door in the wall this summer and connect it to the rest of the house.

Last summer I decided even though the place was a fright and everything under the sun was piled up in there that I was going to reclaim it. I put a valiant effort into it and I did make it usable though still having to contend with things that took up room and didn't belong. Also the big mess...well it was still there.
Then it started to get cold and I realized that I was not going to be able to stay in that room, not unless I was happy running an electric heater non stop all winter! So I moved everything out of the entryway room and into my studio, and moved a lot of my things from the studio into the entryway. I spent my winter here near the wood stove, cramped but warm.
This is what greeted me when I opened the door yesterday.

So I have been itching to spread back out. I have a lot of things going on. I can barely turn around in the space I whittled out in the corner of the entryway so I dove back into the studio and started moving things yesterday. 

It is a bit of a nightmare but I think I can get it back into shape soon. 

When I was looking over that mess in there I started thinking back on the studios I had in our old apartments. I dug around and found a few pics I thought I would share with you.

This is our first apartment in Bordeaux. I had just arrived in France and we were so poor, but so happy. I loved this little apartment with the big magnolia tree right outside the windows. I had never lived in an apartment where the windows opened up wide with no screen and it was like being outside! I set my studio up under that big window where I could sew and see that beautiful tree. It was simple but that is where I started exploring with dyes and stitching and learning how to express myself with art again.

This is the only photo I could find from Grenoble. I had come so far by then and had so much fun with my dyes.

And this was my studio in Oberhausbergen, next to Strasbourg. This was such a great room. Frenchie worked so hard to make it perfect for me. 

From the huge wall I could write on while I dyed, 

the tension wire to hang my notes and projects 

and the great shelves and desk. 

This was such a wonderful room to work in. I can't wait till I can get this room I have now into similar shape. This week I will work on getting it to a state where at least I can work in there comfortably. 


So this is what I have been busy working on the last few days and probably quite a few more. When I get it done I will post some more pics of what it looks like, I knwo it wont be as nice as the studio in Oberhausbergen but it is only temporary. At least I will have room to work again!

Hope you are well!


4/08/2015

DIY Table Runner Made With Recycled Jeans and T-shirts

Today I wanted to show you my new table runner. This actually started out as a plan for my coffee table but after finishing it I decided I like it on the dining room table as much as on the coffee table. The great thing about this piece? It uses up some old clothes. I am all about recycling as much as possible and I have a big cabinet just full of old clothes to use for my projects.
To make this piece you need an old pair of jeans, about 5 t-shirts in the colorway you want. I chose reds, yellow, orange and black, some stiff lining material, another shirt in a coordinating fabric, I had an old stretchy black velvet shirt I used. 
Some shishka mirrors or fancy buttons, 
embroidery thread in the same coordinating colors, some liner material and some backing material. The sizes are dependent on how wide you want to make your piece.
I started out by cutting three rectangles from the legs of the jeans. Mine were 20" long and 8" wide. Then I cut the tshirts into strips from side to side about 1-3/4 inches wide.
I then took the strips and folded each side into the middle and then folded them again, so they are long strips like bias tape. 
I pinned these shut with safety pins so they would be easier to work with. 
I then placed the strip of tshirt at the top corner of thejean rectangle and using 3 ply of  embroidery thread started sewing it on. I simply wrapped the floss over the top, pulled the needle through to the back and came up about 1/8 of an inch further down and do it again. 
This is a very easy stitch to do and I made most of these while watching tv. I made two with the colored t-shirts using black thread and one with the black t-shirt and the different colored flosses. 
I would just sew a long piece of thread and then switch to another color.

After you finish your t-shirt pieces you can make your other two pieces. 
I used a thick lining material like you would use inside a belt, like buckram but you could also use jeans for this. I cut them the same size as the other pieces. I then cut out the velvet about 1/2 inch larger all the way around, I wrapped it around the lining material and slip stitched it all the way around. 
I then took the shishka mirrors and scattered a few across the top and slip stitched them onto the fabric. When I finished with this I took the yellow floss and made simple criss cross stars all over the two pieces.
When all the stars were done I laid the five pieces across my lining material and cut it out to the same size. 
I then pinned it all down (I used a lot of pins to make sure nothing slipped around) I then stitched the pieces onto the lining material first stitching the velvet pieces down onto the striped pieces and then all the way around the edge.
After this was done I laid the piece out on top of my backing material and cut it 2" wider all the way around. 
Then I folded the edge of the backing material twice and then up and over the edge and pinned it down. Then I machine stitched all the way around the edge. 
Voila, finished!