3/30/2015

Remaking the Kitchen ~ Chalkboard Spice Jar Labels


 I have been busy learning this week, all about how to make editable PDF's. I can proudly say that I figured it out and it wasn't so difficult. So I can now happily offer you my spice labels I made for my kitchen. I hope you all enjoy them as much as I did. They sure did brighten the place up!

Chalkboard Spice labels Making on the Mountain Cymberrain

These are all editable with whatever you want to put on them, there is one sheet with a single line, then one with a script on top and one with script on bottom. So you can organize in whatever way suits you best.
Chalkboard Spice labels Making on the Mountain Cymberrain

Download Single Line Template HERE

Chalkboard Spice labels Making on the Mountain Cymberrain
Download Bottom Script Spice Label Template HERE
Chalkboard Spice labels Making on the Mountain Cymberrain

Download Top Script Spice Labels HERE

Hope you are having a great week there, I have been keeping cozy by the fire. Spring is on it's way, right?
3/27/2015

Art in Life


Each day when I wake up it's like waking up to a monster. 
This beast in front of me that I must conquer. 
It's size is overwhelming, it's complexity perplexing and it's depth is monumental.
 What beast do I speak of? 
My house.


I am an artist first and foremost. I think, eat and breathe art. 
If I must do something I want to put all of me into it. 
It MUST be creative. 
I don't think I am capable of doing anything without throwing a touch of color, of design, MY idea of style into it. I realize that that in itself makes life more complicated, but I never said I was simple.


       I am one of those people who can get lost in intricacy. 
I love to delve deep into the making of EVERYTHING. Some of my favorite things to do are the most complicated, tiny, intricate things that a person could imagine. Mastering something like that is more satisfying than anything else I can think of.

       So possibly, you can imagine what a monster my house is.
 It is wonderful with it's little foibles, its funky little corners and interesting elements. 
It is also a mess, at almost every turn there is something else that needs fixing, cleaning, patching, building. This is not creativity, this is not design. This is hard work and simple construction. 
The artist in me feels hampered.

         Some days I dream of what this house will be when we are finished, All the rough spots smoothed, the broken replaced and everything streamlined into a home. 
Then I think, I can go back to doing my art full time! 
I wonder though how true that would be. I have found in my life that my art shines brightest when I am in the middle of intense emotion. I don't care if I am sad or mad or deeply head over heels in love, that is when it chooses to shine. Will having my house all nice and bright and fixed bring about those strong emotions? I doubt it. I think that maybe that would be the time when my art would be it's dullest. 

          And I guess that is where my deepest frustration lies right now. On the one hand my time is needed here, making my house a home and on the other my time is right to make my art, to work now when my passion runs so deep. 
The excitement of living in this place, of making something new...of creating this thing, this home is rejuvenating. It is a strong and powerful emotion, one that could make much art. But who has time for art when the kitchen needs organized? The garden needs planning and oops, Iota made another mess in the front yard. 
Who can make art in chaos like this anyway? 
My studio is overran with things that don't belong there...and too cold to work in anyway. There are not enough hours in the day to do both what I want and what I need. 

          So right now to survive, I try to see the art in little things. Did I just cut out a small horde of little labels to put on my spice jars? Yes...yes I really did. 

Is it silly? Oh that is truly is. 

Was it necessary? As necessary as the air I breathe.

It might not seem like much to most but it is my little mark here. It is my art of the moment, little as it may be. 

3/25/2015

Overhead Light Rescue


Hello, I hope you are somewhere warm and cozy! Today is cold and gray and I have a nice fire going here next to me. We are having a bit of a cold snap right now but I know spring is hiding around here somewhere!
         Most of you know that we are in the middle of remodeling our little chalet. We built the addition on this last summer and went out quickly the night before our housewarming party to buy lights for it. Frenchie hates lights that you can see the light bulbs through, I can't say I am too crazy about them either. We thought we did good when we bought this light but after we put it up and sat down on the couch...light right in our eyes. *sigh*

3/23/2015

A Day Trip to Colmar

   Hello Everybody, I hope you had a wonderful weekend. It was a bit cold and gray here but today made up for that with clear blue skies and lots of sun. We took a trip over to the valley next to ours...the Munster valley and I will show you pictures of our trip soon enough but I promised you I would show you a bit of Colmar first.
3/20/2015

Remaking the Kitchen ~ Spice Jars and Rack


Hello, I hope you've been having a great week, the weekend is upon us and I don't know about you but here looks like we will be getting some nice weather. We will be enjoying our last weekend with Ryan, my son, who will soon be back on a plane to return across the big wide ocean. I will miss him so but it has been good to spend some time with him! I am almost done with the vest I am making him so maybe I can get him to pose in it before he goes!


3/18/2015

Mother Earth News Vegetable Garden Planner


 I wanted to write to you today about a wonderful application I found last year at Mother Earth News . I don't know if you have ever heard of them but I remember them from way back when I was much younger. My sister lived out on a farm in the backwoods and she was all about raising her animals and living off the land. they had beehives and goats, chickens and rabbits. She used to make her own goat cheese and had fresh eggs all the time. She also always had a huge stack of these magazines laying around. I loved looking through them. They told you how to do all kinds of things. Make your own greenhouses, dehydrate food, the list goes on and on. I earned a healthy respect for them during this time and I have always wished I had that big old pile of magazines now.


3/16/2015

A Day Trip To Kaysersberg


        Descending down from the mountains where I live, I slowly leave the snow behind. The fields pick up a bit of green as we get closer to Kaysersberg. A 20 minutes drive takes me from being perched on the side of a mountain in a chalet above a sleepy little village to the beginning of the great valley where Kaysersberg lies.

3/12/2015

Remaking the kitchen ~ Improving Storage

  I have been quite busy this week with various projects. My son is traveling back home in less than two weeks and I am trying to finish up some alterations for him. I also have a few gifts to send back home that need to be finished also. But I found a little time to work on my kitchen. This is what I did this week:


kitchen organization, making on the mountain, DIY


3/11/2015

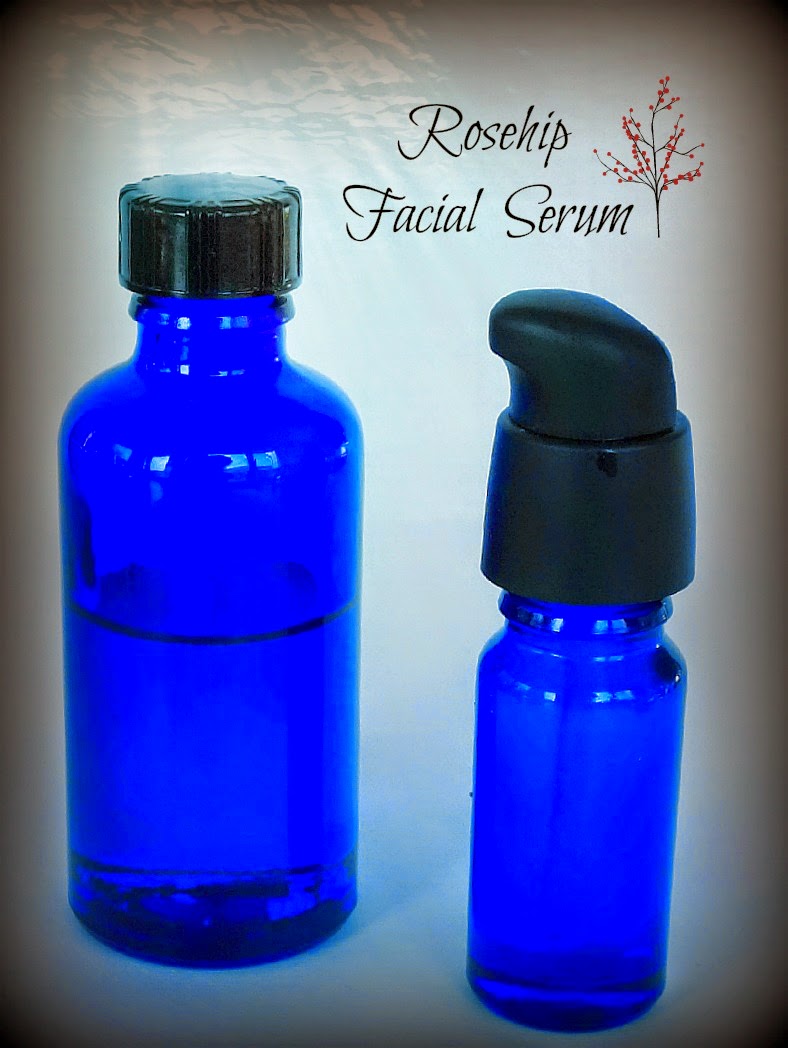
Rosehip Facial Serum

     I am not such a spring chicken these days and so I find my skin requires a lot more care than before but, oh, how I wish I would have shown it a bit more when I was younger. I was more of a wash my face and go kinda girl and had a devil-may-care attitude about any kind of skin care. These days I like to pamper myself and I am starting to see results. Maybe with a little forethought I wouldn't have to be battling the signs of ageing so much. Haha!

     So last night I ran out of my 'cant do without' facial serum and thought this would be a perfect time to share with you my recipe and why I use the ingredients I do use, since they seem to be working so well!

     I first discovered the amazing effects of rose hip oil after purchasing a similar serum. I immediately started noticing that my skin wasn't so dry, that the redness was receding ( I am a long time sufferer of rosacea) and that, low and behold, my wrinkles were not as noticeable! I went through a few of these store bought bottles before I had to delve into the science behind this marvelous oil. Now my formula isn't the same as the one I started out with but I think this one suits me even better for my particular problems. There are many wonderful oils that you can use on your face and essential oils that boost them with great affect.

carrier oils, rose hip oil, vitamin e oil, essential oils, body care


    My first ingredient, as the title states, is Rose Hip Oil. It has amazing properties and is especially suited to older skin but will also benefit younger. It is a very lightweight, non-greasy oil that promotes the healing of damaged skin. It has a high concentration of natural vitamin A and it is full of nourishing fatty acids. Rose hip oil has the great ability to smooth wrinkles and to lighten age spots. It stimulates the growth of new cells and increases collagen production. It also improves elasticity, texture and the appearance of your skin and it helps treat chronic dryness. It calms the redness and irritation of your skin with it's anti-inflammatory properties and can be a great help to those suffering from rosacea and acne. Who wouldn't want to use this oil on their face?

vitamin E, carrier oil, body care


 Vitamin E oil is the second ingredient and is a super antioxidant that helps reduce wrinkle formation. That's right. it helps stop them in their tracks! It also boosts collagen production, aiding in keeping the skin elastic. It encourages new skin cell growth and speeds up cell regeneration. It also helps protect skin from UV rays and pollution. And it is one of the best remedies for scars. I had a friend use this on a scar every day with great results. I will never forget how we watched it fade away.


     I use these two together as the base oil then I also add 5 essential oils to my formula. All of them have wonderful skin healing properties also:


Frankincense is a wonderful skin regeneration oil that helps reduce scarring, smooths wrinkles and reduces fine lines. It is a great skin tightener, reducing sagging, and it evens your skin tone and balances the skins pH.

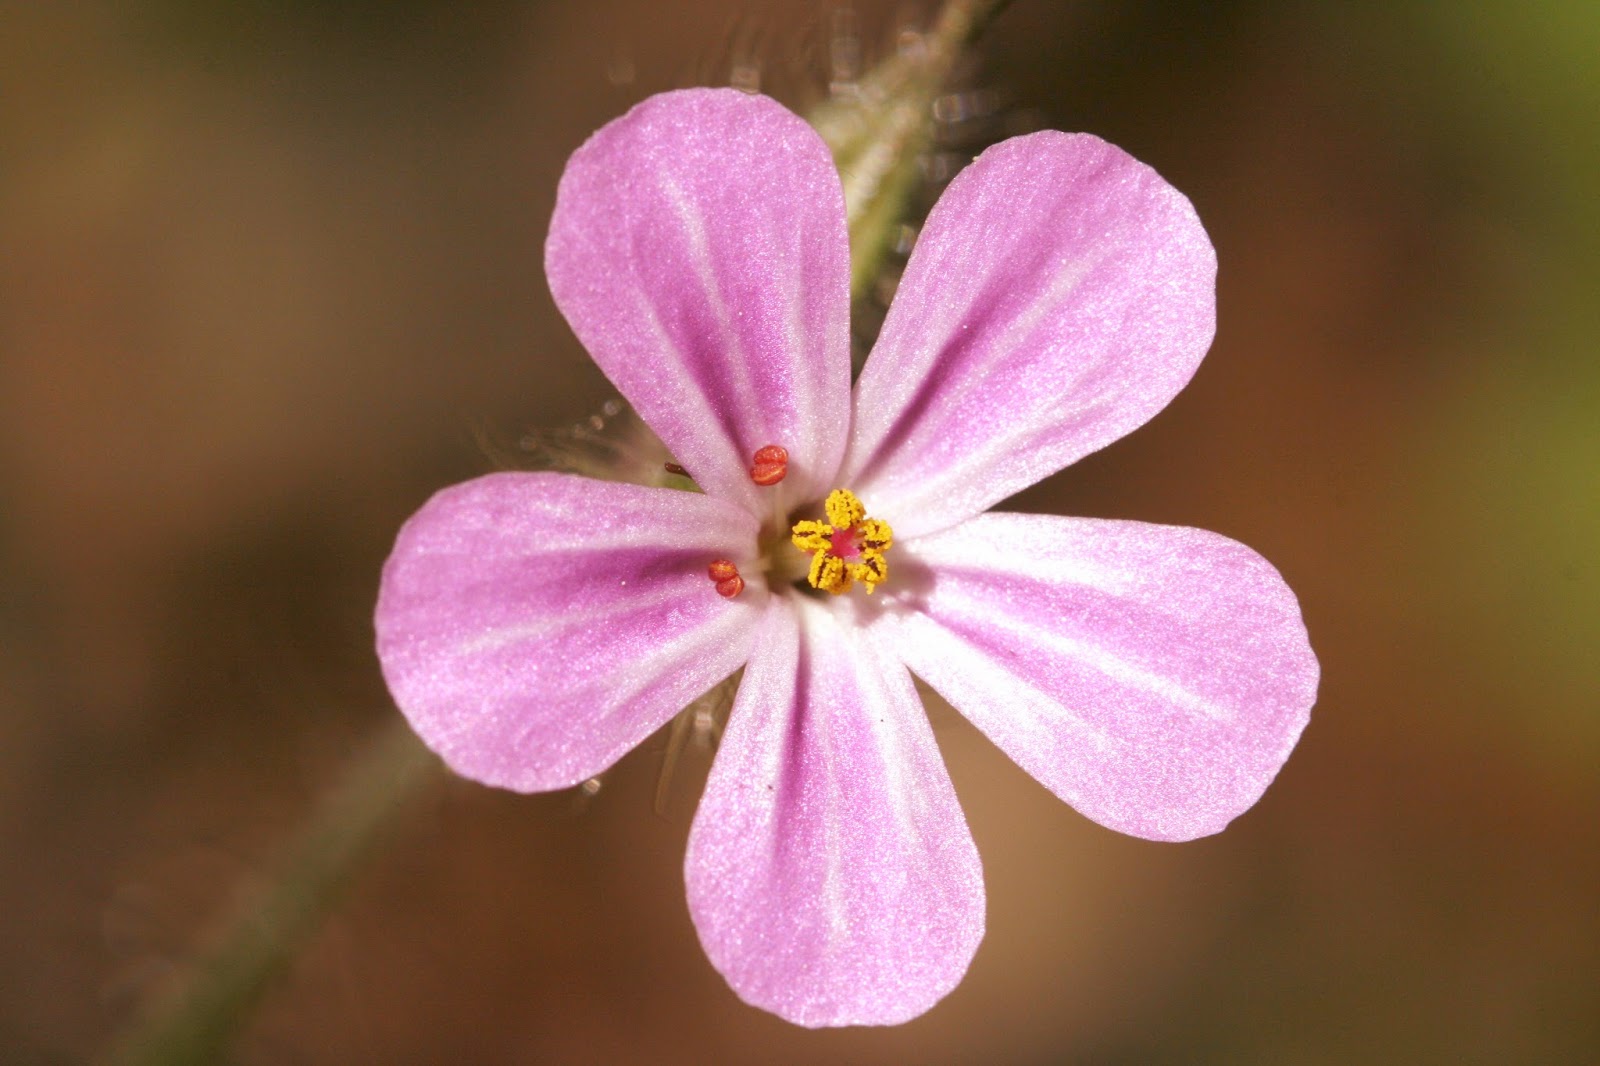
Geranium Flower


Geranium is a wonderful anti-inflammatory that also helps with age spots and evens skin tone. It improves circulation under the skin's surface aiding in cell regeneration and also aids in reducing scarring, smoothing wrinkles and improving the texture of your skin.

Carrot Seed Oil is full of antioxidant caretenoids which help to prevent sun damage. They also stimulate the rejuvenation of skin cells and help detoxify your skin. This oil often helps with chronic skin conditions such as eczema and psoriasis.


    Cypress helps reduce broken capillaries under  the skin, improves 
circulation and strengthens the skin.

jasmine flower

And last but not least, Jasmine Oil. I add this oil because I love it's scent but it is also known for its benefits for your skin. It is helpful for fading scars and treating dry brittle skin. I would advise against the use of this oil by pregnant women though for its emmenagogue effects.

Facial Serum, Rose hip oil, essential oils, body care, Making on the Mountain

     Rose Hip Facial Serum

4 Tbs of Rose Hip Oil
2 Tbs Vitamin E Oil
5 drops Frankincense Oil
5 drops Geranium Oil
5 drops Carrot Seed Oil
5 drops of Cypress oil
20 drops Jasmine 10% oil*

Combine ingredients and gently stir before pouring into bottle.Store in a cool, dry place. 

*I use such a large amount of this oil because it is not pure Jasmine but diluted in a carrier oil. IF I had pure jasmine I would probably only use 3 drops.

I hope this recipe is helpful to you. It is never to early to start pampering your skin. It will thank you by giving you a fresh young glow!

Have a wonderful week ~ Diane


3/09/2015

Small Cotton Tassel Tutorial

 
I recently finished making one of my treasure bags. I wrote about it here and mentioned that I would make a tassel tutorial soon. Well I was a bit delayed because I realized after I took all the pictures that the colors of the tassels were way too dark for people to see what I was doing. So I remade one with lighter colors.

I am a thrifty person and hate to throw anything away. Whenever I dye my cotton embroidery floss I wrap it into big hanks. I tie those hanks in several places to keep them sorted so they don't end up a big mess when i am done with the dyeing and washing. Now when i first started doing this I would tie them with any old yarn or bits I had around, then i would snip them off and throw them away when done. I realized this was a waste, even if a small one, and started tying them with floss itself. What i ended up with was lots of little 4-5 inch pieces of wonderful dyed floss. They work perfectly for making small tassels. Now you can do this with any 6 ply floss and  still get nice results. If you want to try to recreate the look of mine you can try using variegated floss, or even several pieces of different colored floss.


We begin with around ten pieces of floss at 4-5 inches long. If you want a 
thicker tassel just use more pieces. 


Take these and fold them over the cord you will be using. 


Then take the floss you will be wrapping at the top and make a loop with that floss, setting it up against the folded pieces. You want the loop pointing down towards the ends.


Now start wrapping your floss around the folded pieces, first wrapping two or three loops up towards the fold and then back down towards the ends. Wrap about 3/8" down, then back up to where you started and then back down again. So in the end you have three layers of wrap. 


Cut off your wrapping floss and thread the end through the loop.


Pull the end of your wrapping floss that is sticking out up at the top slowly...the loop that your floss is threaded through will slowly go up into the knot. Pull it tight till the loop is all the way into the knot and seated firmly inside.


Trim off the two threads and then trim the ends of your tassel even, then run a blunt needle through the pieces to separate them.
Voila, a beautiful cotton tassel. 


I love the look of these on my hand dyed silk velvet treasure bags. They are the perfect finishing touch. You can also use this method with other types of thread, though silk can snag easily to use with care.

I hope you enjoyed my little tutorial. have a great week! Diane


3/06/2015

Rethinking the Pantry

   I have been busy this week working on my kitchen with all it lacks. I have come up with a great new project that I think will help a lot with the storage problem I am having. Earlier this week I gave you a peek at what I am dealing with in my post Kitchen Woes. Since then I have come up with a great strategy for dealing with a lot of these problems. My first problem will be to tackle the overflowing pantry problem.


       I have this huge pile of jars in the garage, I have been meaning to take them back to the bio store but they have piled up instead. Having to haul things down a mountain road by hand tends to make said tasks not get taken care of as often! In the end this was a good thing though because as I stood there staring at that pile I had a light bulb moment. Here I have all these matching jars, they are a good size so perfect for storing things in. Why not put them to good use? And so I am!


          First off I knew I didn't want to take time to design my own labels. I can, I was trained as a graphics artist. But I am still shaky with my photoshop and need to take the time to know the program better. (there was no such thing as photoshop when I learned paste up and layout)  So I was surfing around on the internet, looking at examples and trying to find a style that I liked, when I stumbled upon this woman's wonderful site, Lia Griffith. She has all kinds of wonderful ideas floating around over there and she has these...


I just love them! They are perfect for what I have in mind so I immediately downloaded them to put on my jars. I am so grateful for her offering these free on her site. They really are exactly what I wanted.

So I printed them out and washed a small mountain of jars and started mounting the stickers. I have these printed on shiny stickers so they will wipe clean easy. Now I am sure they wouldn't hold up to any soak in a sink but they are storage jars that should only need an occasional wipe down. I made a simple guide for mounting them so they would all be the same height. I simply cut a strip of card stock the height of where I wanted the bottom of the sticker to go and taped it so it fit around the jar. Then I just put a jar into the ring and mounted the sticker. Easy-peasy and all the same height!


So the first step of my project is completed although I do lack a few jars, guess I better get to eating more yogurt quickly! Stay tuned and I will show you my next step soon.

Hope you are all having a wonderful Friday. The weekend is finally here.

I wish you all a sunny one! Diane

 Want to see what I am working with? Here is my post on My Kitchen Woes

Want to see what I do next? Here is my post on My new Spice Racks!
3/05/2015

Orange Cuticle Cream Recipe


I am a long time sufferer of extremely dry skin. Since I am hypothyroid it comes with the territory. I decided to give some cuticle cream a try and whipped up this lovely batch of Orange cuticle cream. It's quite simple, requiring only 3 ingredients and smells heavenly!


Orange Cuticle Cream

Ingredients:

 5 parts castor oil
 3 parts shea butter
 orange essential oil

Heat the first two ingredients on low heat until melted. You can use a water bath for this if you prefer but I don't.
Remove from heat.
Add essential oil.
Pour into a clean container and let cool.

*if using tablespoons as a measurement I add 25-30 drops of EO. This makes 3 small pots of cream.


This keeps my cuticles soft and supple, No more snagged silk when I am working on my projects! I would advise you to only use this on your cuticles as it is a bit too sticky to be used as a hand cream. I find it soaks in quickly though and is already repairing my rough cuticles.

Don't be afraid to try other oils instead of orange.
Here are a few suggestions:
Myrrh is a wonderful oil for wounds. If you have sore and bleeding cuticles this might be the perfect oil for you
Lavender is a very soothing and healing oil. this could also be a good choice.

Hope you enjoy my first body care recipe. Try it, your hands will thank you!

Diane


3/03/2015

My Kitchen Woes

     Most of you know that Frenchie and I recently bought an old chalet up in the mountains of Le Bonhomme, France. This is in the Alsace region. It is an old vacation chalet that was built back at the beginning of the twentieth century as far as I can gather.

It was much smaller than it is now, basically half the house that we have. Sometime later they built on the second half and doubled the size. The base is made of concrete, the upper part brick and  wood. The older half having wood upstairs and the newer half brick covered in wood. 


I fell in love with this house the moment I went to look at it. It has a lot of character, very quirky, but I love that over a box house any day!


 Unfortunately it also came with a lot of problems. 


This is the kitchen that greeted me. As you can see the cabinets that were there were sitting on top of the counter or just in the middle of the room. It has a sloping roof and the base of the counter is concrete. No lower cabinets...only a hole with a curtain in front of it. It was also as dark as a cave. This is the brightest it would get and that was only in the sunniest part of the day...if there was sun. The light fixture did little to light the room.


I tried many organizing schemes. Here is a picture of one of them. I cut down the set of drawers that had been sitting in the middle of the kitchen and set them into the hole under the counter, then I built a few makeshift shelves and added baskets. This all needs to be reworked but it helped a lot. Then I set up that shelf mess on the counter. It was helpful for awhile to be able to find things and to have a place to put some things but it didn't last for long. Consider that a desperate temporary measure!


So now I am on the journey to making my kitchen into an organized, clean bright easy to work in space. I plan on posting my updates as I go along, Here is my first big overhaul.


 I painted the whole thing! I did not hold back even a second. All that wood...gone. Now normally I love the look of natural wood but this room needed bright white. I painted the under counter red for a temporary fix. I couldn't look at that dirty stucco another minute and nothing seemed to clean it. 


 It also ties into the red in the new addition ...


So now you can see what I am working on and what I am working with. It is quite the project but I do have some plans. My next project is shelves and pretty jars to put on those shelves. I will write more on that soon.

Hope you are all having a wonderful week, Diane

Here is a my first update on my next project to organize my kitchen.
Here is my second update on improving storage.


3/01/2015

Finished Bag

So here it is, all finished, soon to be on a trip across the sea. I hope she loves it as much as I do. I plan on doing a short tutorial on how to make these simple cotton tassels soon so be on the look out.